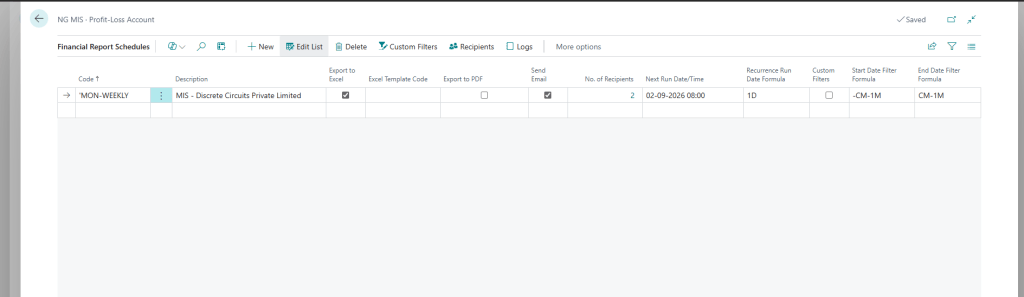
If you’re still manually opening Business Central every week to export your Profit & Loss statement, email it around, and hope nobody forgets — I’ve got good news. Business Central’s Financial Report Schedule feature does all of that for you, automatically, right on the schedule you set. And with version 28.0 (part of the 2026 release wave 1), the workflow is smoother than ever.
Step 1: Set up email addresses in User Setup first
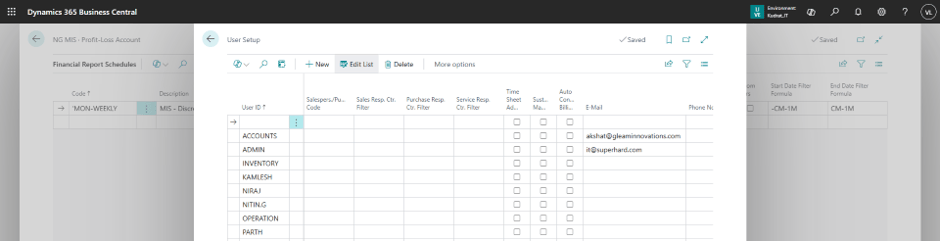
Before you touch the scheduler itself, make sure every user who needs to receive or trigger these reports has their email address configured. Head to User Setup and confirm the E-Mail field is filled in against each relevant User ID.
Step 2: Open your Financial Report and find the Schedule option
Once your users are set up, go to the specific Financial Report you want to automate — for example, a Profit & Loss Account. From there:
- Go to Definitions
- Select Schedule
This opens the Financial Report Schedules page, which is where all the real configuration happens.
Step 3: Fill in the core schedule details
Here’s where you tell Business Central exactly what to send, in what format, and how often. Each field matters, so let’s go through them one by one:
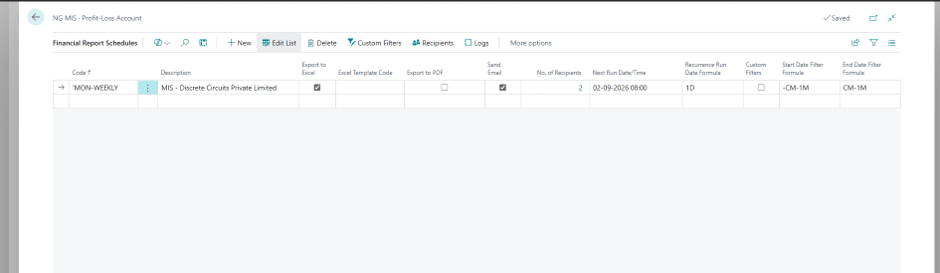
- Code – A short identifier for this particular schedule (think of it like a name tag — “MON-WEEKLY” or similar works well).
- Description – This becomes the subject line of the email that goes out, so make it something recipients will instantly recognize in their inbox.
- Export to Excel – Tick this if you want the report delivered as an Excel file.
- Export to PDF – Tick this if a PDF version is what your recipients need instead (or in addition).
- No. of Recipients – Set how many people will receive this report.
Most finance teams I’ve worked with tick Excel for internal analysis and PDF for anything going to leadership or external stakeholders — you’re not limited to just one.
Step 4: Set the timing — this is where the magic happens
This is the part that actually makes the report “scheduled” rather than a one-off export:
- Next Run/Date Time – The exact date and time of the first (or next) run.
- Recurring Run Date Formula – This defines how often it repeats. Use
1Dfor daily,1Mfor monthly — Business Central’s date formulas are flexible enough to cover almost any cadence you need. - Start Date Filter and End Date Filter – These control the data window the report actually pulls from. Using
CM(Current Month) is a common choice if you want each run to automatically reflect the current reporting period without you having to update the dates manually every time.
Step 5: Add your recipients
Click on Recipients and add everyone who should receive this report. This is a separate step from the “No. of Recipients” count you entered earlier — that field just tells the system how many people to expect, while this is where you actually name them.
Step 6: Save it and let it run
Once everything’s filled in and your recipients are added, you’re done. Business Central will now handle the rest — generating the report, exporting it in your chosen format(s), and emailing it out automatically on the schedule you defined.


Leave a Reply